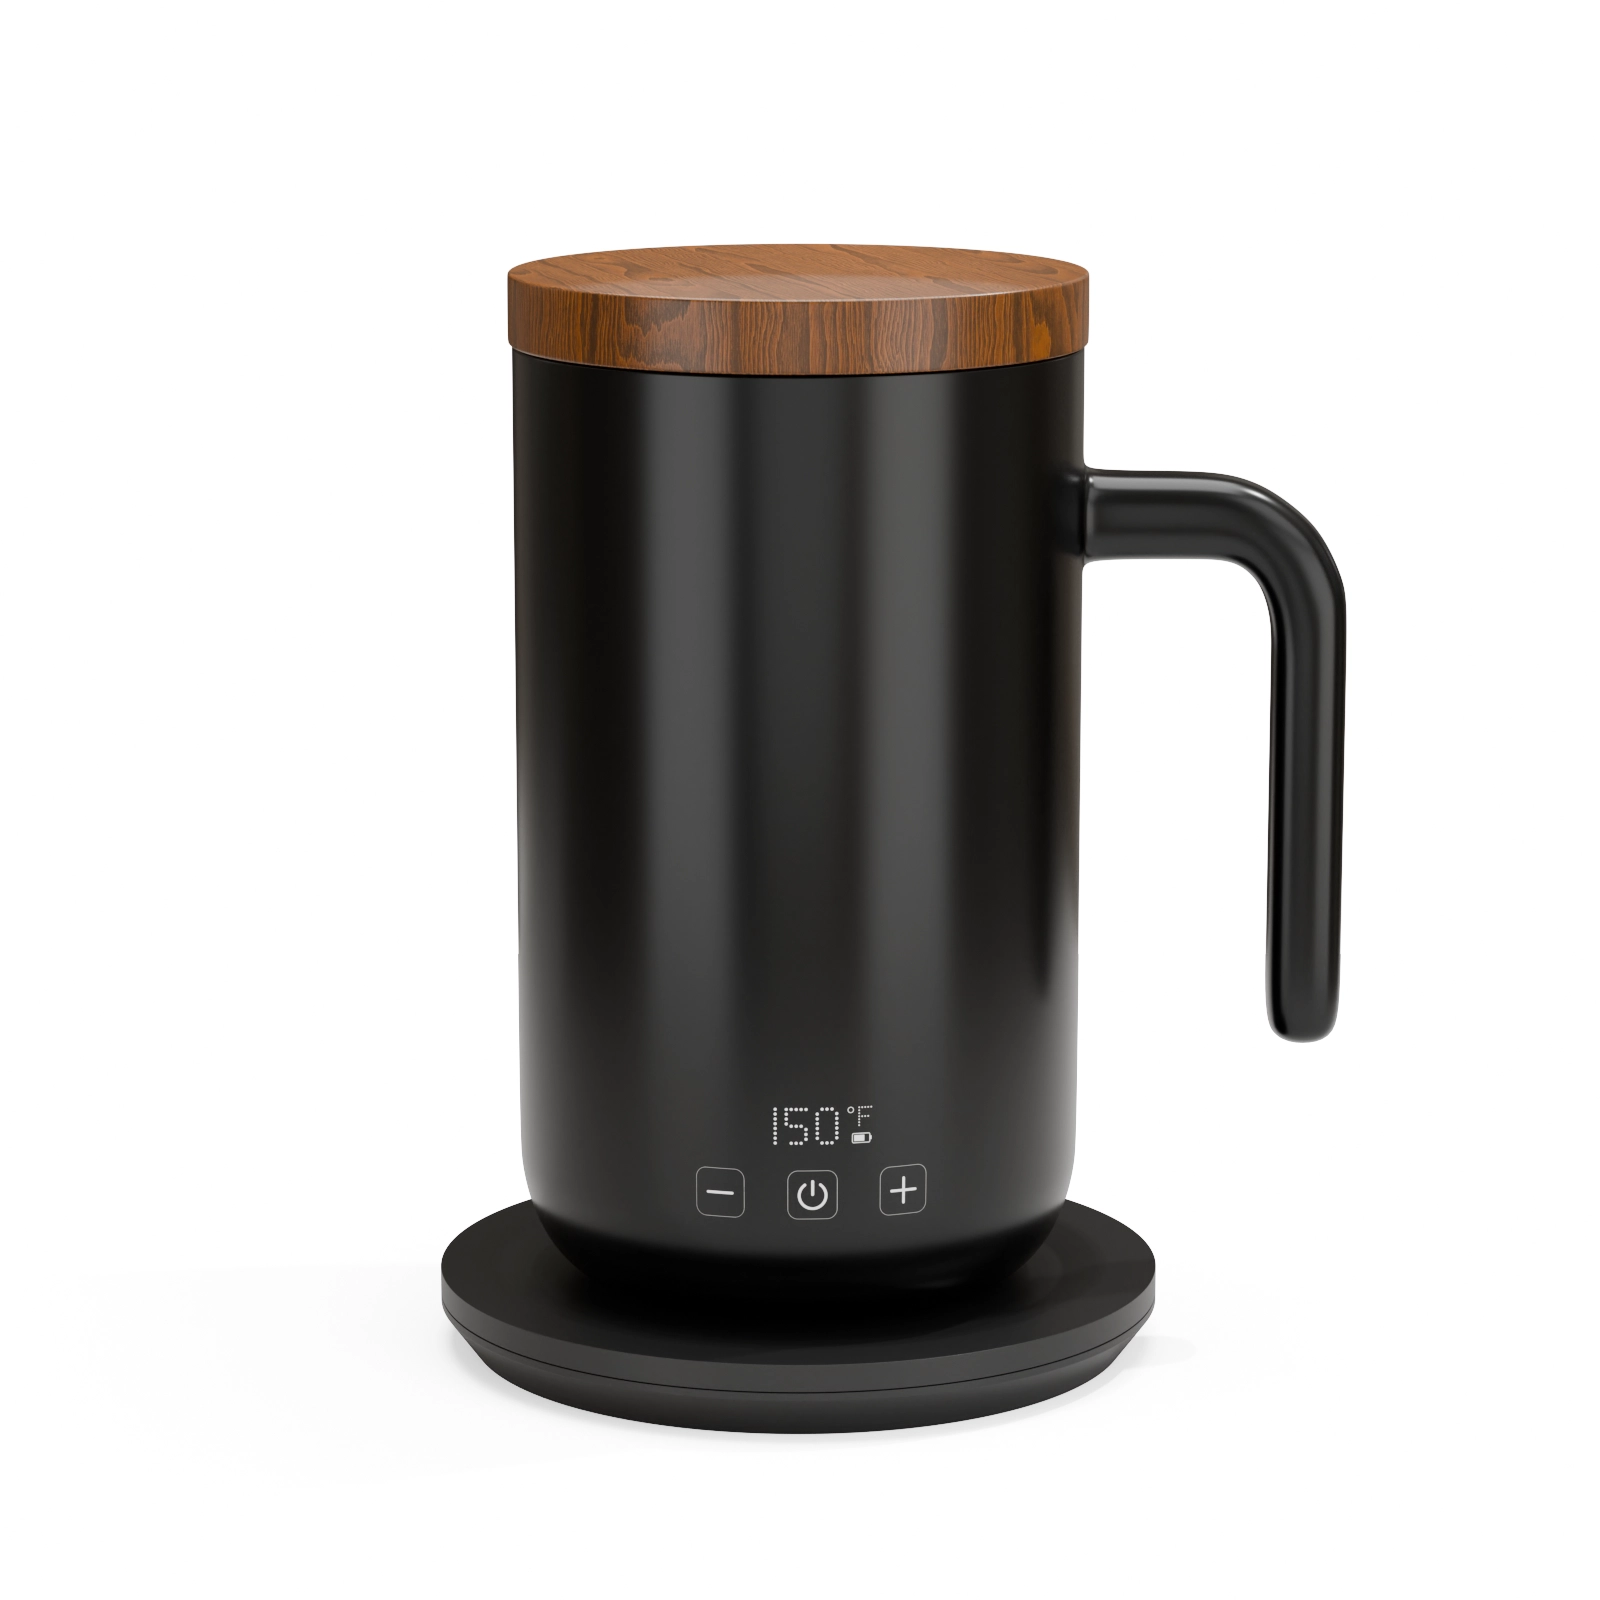
Every rendering studio calls its work "photorealistic." Some of it is. A lot of it is not, and shoppers can feel the difference even when they cannot name it, research on trust in ecommerce consistently shows that imagery quality shapes purchase confidence before a single word gets read.
Here is the checklist we would use to evaluate a portfolio if we were the client. Pull up any studio’s work (including ours) and grade it against these seven points.
1. Look at the edges
Real objects almost never have perfectly sharp edges, manufacturing rounds them, even microscopically, and those tiny bevels catch light. Cheap renders have razor-sharp CAD edges that catch nothing. If the product looks like it could cut you, the modeler skipped edge treatment.
2. Look at the reflections
Glossy surfaces should reflect a plausible environment, soft studio panels, gradients, a suggestion of a room. Bad renders reflect either nothing (dead plastic look) or a default HDRI sky that makes zero sense for a product supposedly sitting in a studio.
3. Check the materials under magnification
Zoom in. Real plastic has faint texture. Real metal has micro-scratches and grain direction. Real glass has thickness, look at the bottom of a rendered bottle and check whether light bends through it correctly. Perfectly uniform, noise-free surfaces are the number one giveaway of rushed work.
4. Read the shadows
Shadows should have soft and hard regions depending on light distance, and contact shadows, the dark, tight shadow right where an object meets the surface, must be present. Objects that look like they are floating two millimeters above the ground were composited lazily.
5. Check label sharpness
Text on labels should be crisp at full zoom. Blurry labels mean the studio photographed the label instead of asking for original artwork files, a shortcut that signals how the rest of the project went.
6. Look for the too-perfect problem
Counterintuitively, flawlessness can hurt realism. The best renders include deliberate imperfection: subtle unevenness in lighting, natural material variation. This is judgment, not software, and it is what separates senior artists from preset users.
7. Consistency across the set
One great image might be luck. Look at a full project, do all angles share the same lighting logic, the same material quality, the same color grading? Listings need sets, not lone heroes.
Put it to the test
A portfolio shows a studio’s best historical work. What you actually want to know is what they will produce for your product, this month, at their current workload. That question has only one reliable answer, and it is the reason our $130 test render exists: one real deliverable, judged against this exact checklist, before any real budget is on the table.
See this quality on your own product
First-time clients get a complete, high-resolution 3D render of their product for $130. Judge the quality before committing to a full package.