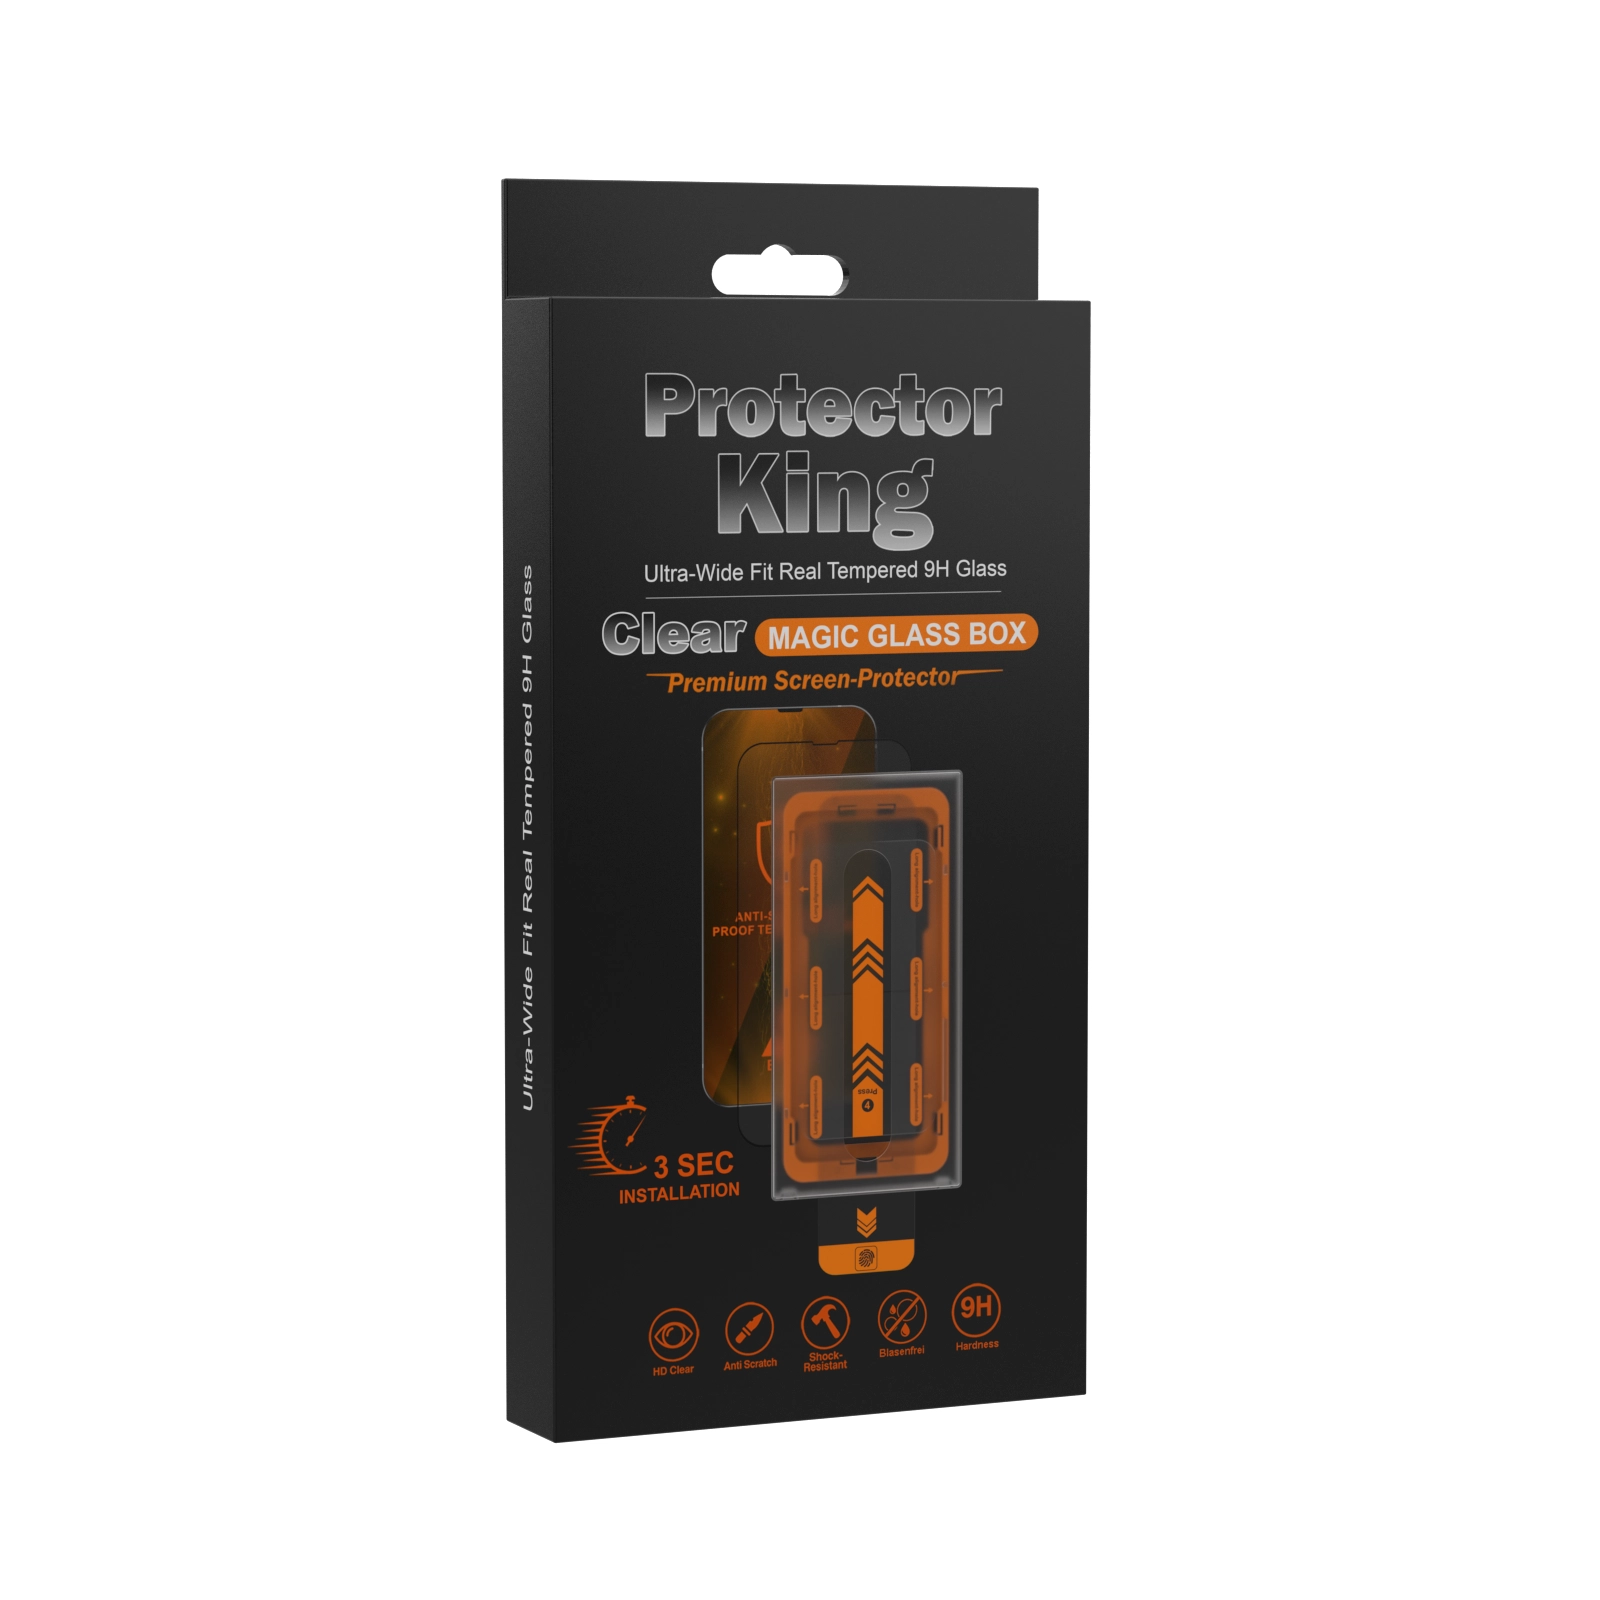
Most first-time rendering clients experience the project as: send files, wait, receive drafts, give feedback, receive images. Reasonable, but knowing what actually happens inside the "wait" makes you a sharper client, because you learn exactly where your input changes outcomes and where it just adds delay. Here is our pipeline, stage by stage.
Stage 1: File audit (day one)
Before anything gets modeled, everything you sent gets reviewed: does the CAD open cleanly, is the label artwork print-resolution, are dimensions confirmed, is any surface undocumented? Every missing piece gets flagged now, mid-project discoveries are the top schedule killer. If you have been asked five clarifying questions on day one, that is not friction; that is the project going well.
Stage 2: Modeling
Your product gets rebuilt as clean 3D geometry, from CAD, photos, or specs, whatever you provided. The craft here is manufacturing realism: edge rounding, seam lines, wall thickness, the way parts actually meet. Errors made in this stage compound through every image after it, which is why good studios refuse to rush it.
Stage 3: Materials and textures
Each surface gets built to behave like its real substance under light, the roughness of the plastic, the anisotropy of brushed metal, the translucency of the liquid inside the bottle. Your reference photos and material specs are the law here. This stage, more than any other, separates cheap renders from premium ones.
Stage 4: Scene, lighting, and camera
Now it becomes photography, virtual, but photography. Composition per your deliverables list, lighting designed for the product’s geometry, camera angles chosen per use: hero framing for the Amazon main image, context for lifestyle, precision for infographic bases.
Stage 5: Draft review, your moment
You receive drafts; this is where your input has maximum leverage. Effective feedback is consolidated (one message, one decision-maker), specific ("darken the reflection on the cap" beats "make it pop"), and complete, late-arriving "one more thing" notes each restart part of the pipeline. Everything you approve here is locked; everything you change is fast now and slow later.
Stage 6: Final rendering and delivery
Approved scenes render at full resolution, the computation-heavy pass where machines do the working and humans do the quality control, followed by color-grading and polish, then delivery in your required formats and sizes.
Why the sequence matters to you
Each stage builds on the last, which explains the two golden rules of being a great rendering client: front-load information (stage 1 is cheap, stage 6 is not) and batch feedback (stage 5 loops are the only part of the schedule you control). Follow both and your project runs the fast path.
Curious how this feels in practice? The $130 test render runs through this exact pipeline in miniature, audit to delivery, so you experience the process on something small before trusting it with something big.
See this quality on your own product
First-time clients get a complete, high-resolution 3D render of their product for $130. Judge the quality before committing to a full package.