Connected devices have an imagery problem that ordinary products do not. Much of what the buyer is paying for is invisible: the app, the automation, the fact that three separate devices talk to each other. The hardware itself is often a small white box.
Photography captures the box. It struggles with everything else.
Screens and indicators
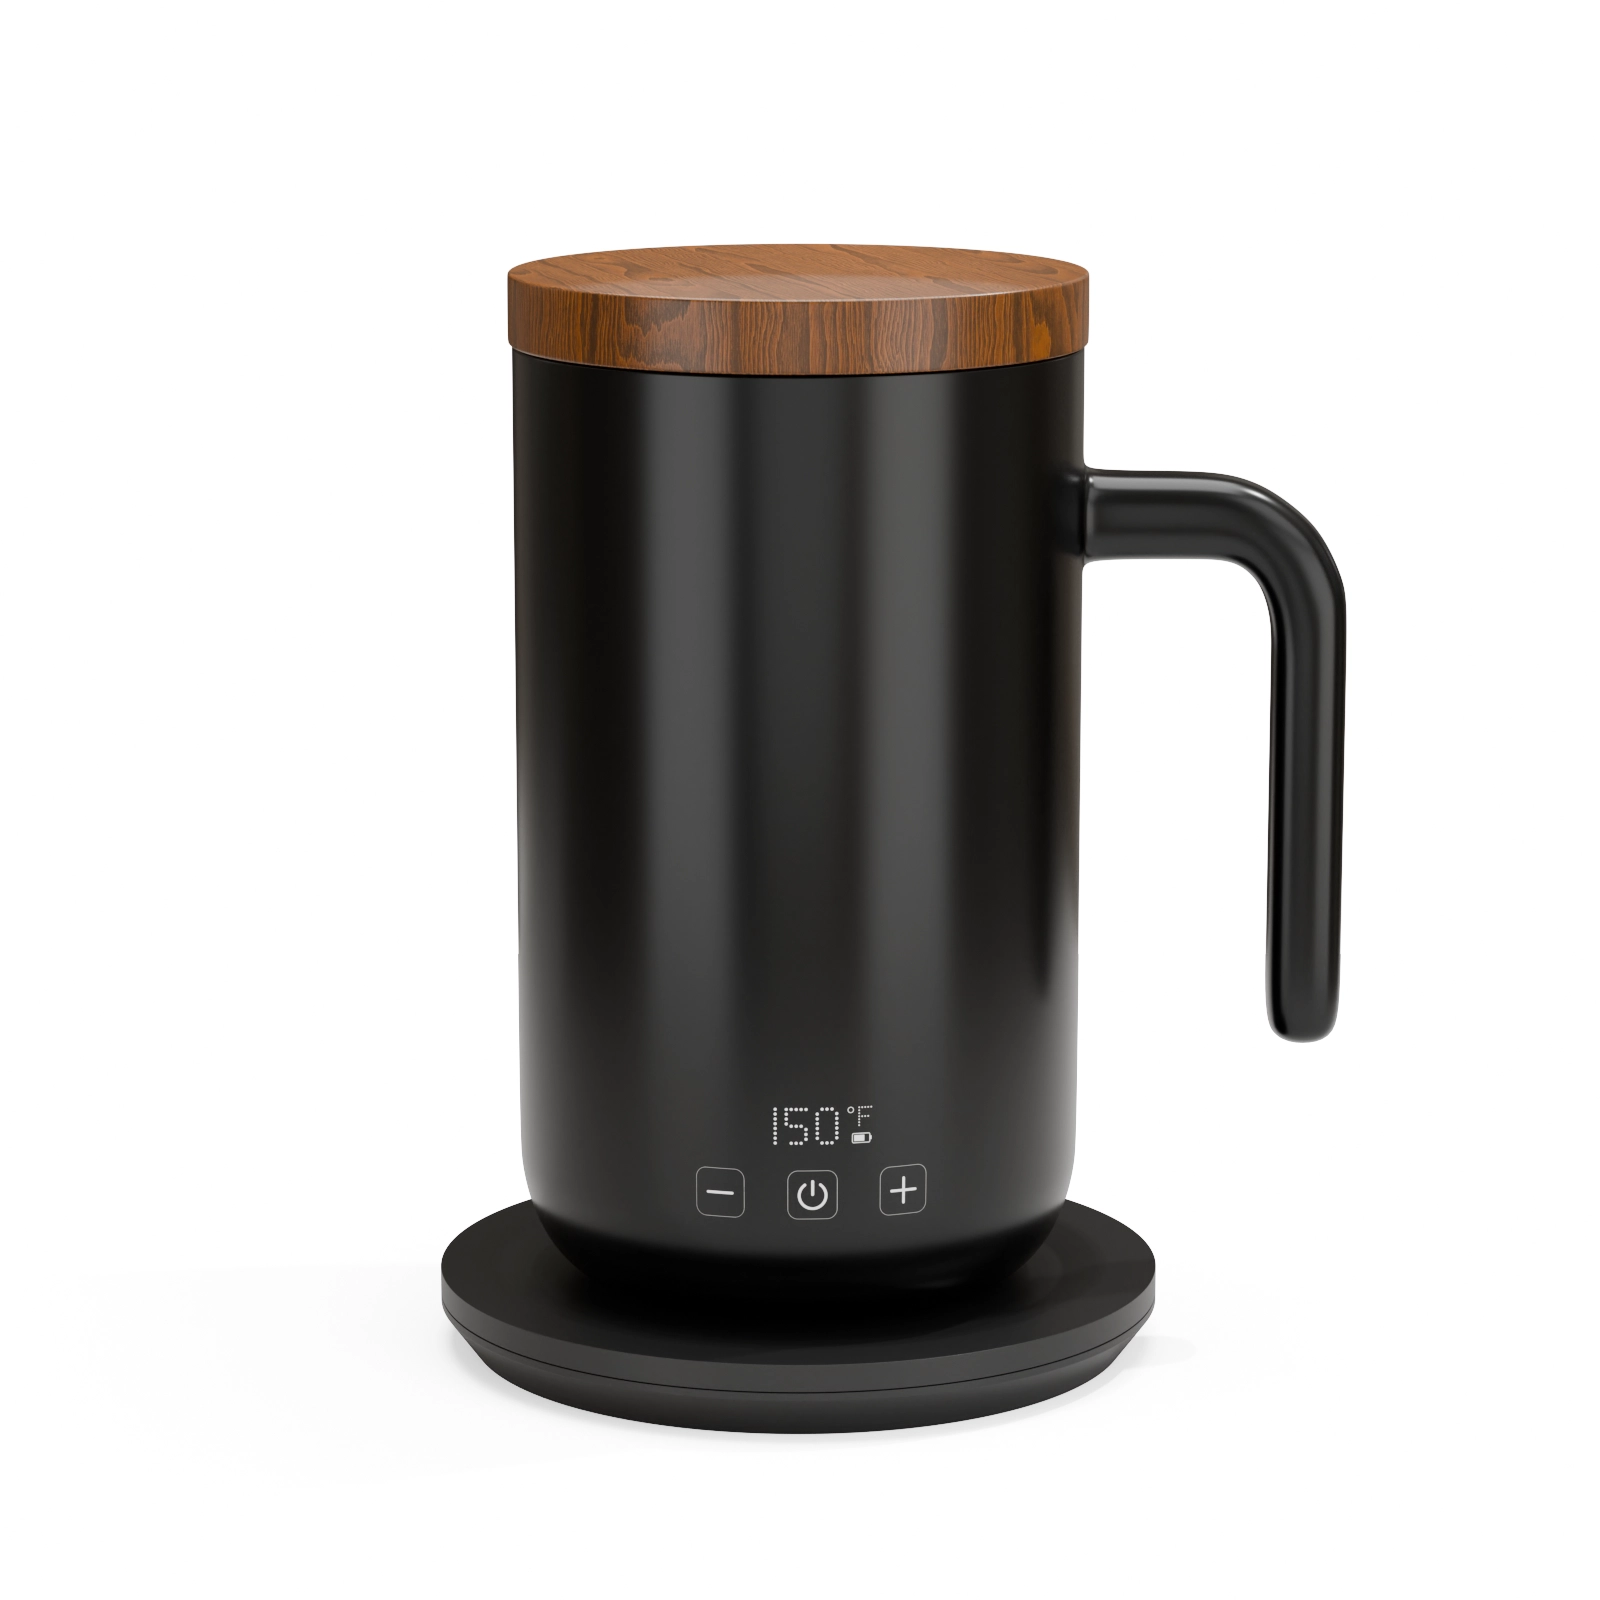
Photographing an illuminated display is a technical nuisance. The exposure that renders the housing correctly blows out the screen, and the exposure that captures the screen loses the product. The standard workaround is compositing, shooting twice and merging, which works but has to be redone for every screen state.
In 3D the display is emissive geometry. You control brightness, content and product exposure independently, and switching the on-screen content is a texture change rather than a new shot. For a device whose interface updates with every firmware release, that is the difference between imagery that stays current and imagery that quietly goes stale.
The same applies to status LEDs, which are usually the only visual indication that a device is doing anything. Rendering lets you show the exact glow, colour and diffusion through the housing material, at the intensity that reads well at thumbnail size.
Ecosystem imagery
The commercially important image for most smart home brands is not one device. It is several devices working together, ideally in a plausible home.
Photographed, that means acquiring every product in the range, building or renting a set, and shooting an arrangement that will be wrong the moment you add a fourth product to the line.
Rendered, each device is modelled once and any combination can be composed. Add a new sensor to the range and it drops into the existing scene. Show the hub with two cameras for one market and with four for another. Produce a whole-home diagram showing coverage.
For brands whose selling proposition is the ecosystem, this is not a convenience. It is the only economic way to keep ecosystem imagery current as the range expands.
Installation and placement
Smart home returns cluster around two causes: it did not fit, and I could not install it.
Both are addressable with imagery that photography rarely produces:
- The device shown mounted in typical positions, on a wall, in a ceiling, on a door frame
- Clearance and mounting-hole diagrams
- Field-of-view visualisation for cameras and sensors, which is genuinely difficult to photograph and easy to render
- Cutaway views showing what sits behind the wall plate
- Step-by-step installation sequences using the same model
Field of view is a particularly good example. A rendered cone showing exactly what a camera sees, in a real room, answers a question that otherwise generates a support ticket or a return.
Compatibility and variants
Connected devices proliferate variants: colour options, regional plug types, versions with and without a battery, hub-required and standalone.
Regional plug variants alone are a nuisance. A US listing needs a US plug, an EU listing a Schuko, a UK listing a BS 1363. Photographing three versions means three units and three shoots. Rendering means three swaps.
Selling across US, UK, Germany and the Netherlands, this multiplies quickly, and it is the sort of detail buyers notice. A German listing showing a US plug undermines trust before anything else is read.
The privacy dimension
Smart home is a category where buyer trust is fragile, particularly in Germany and the Netherlands where privacy expectations are high and data protection is taken seriously.
Imagery contributes to this. Renders that show physical privacy features clearly, a camera shutter closed, a microphone mute switch, a local-storage slot, address the objection visually rather than burying it in copy. In markets where GDPR consciousness is high, this is a genuine conversion factor rather than a nicety.
What to prepare
- CAD for each device, ideally the production revision
- Screen and UI assets at proper resolution, since a low-resolution interface texture ruins an otherwise good image
- Exact LED colours and behaviours
- The regional variants you need
- Room contexts appropriate to your target markets, since a typical German interior differs from a typical American one
- The ecosystem combinations you want to show
Where to begin
Start with the ecosystem image, not the individual product shots. It is the hardest asset to produce any other way, the most valuable commercially, and it tests whether the studio can handle screens, lighting and multi-object composition. Once the scene exists, individual product imagery derives from the same models cheaply.
See this quality on your own product
First-time clients get a complete, high-resolution 3D render of their product for $130. Judge the quality before committing to a full package.