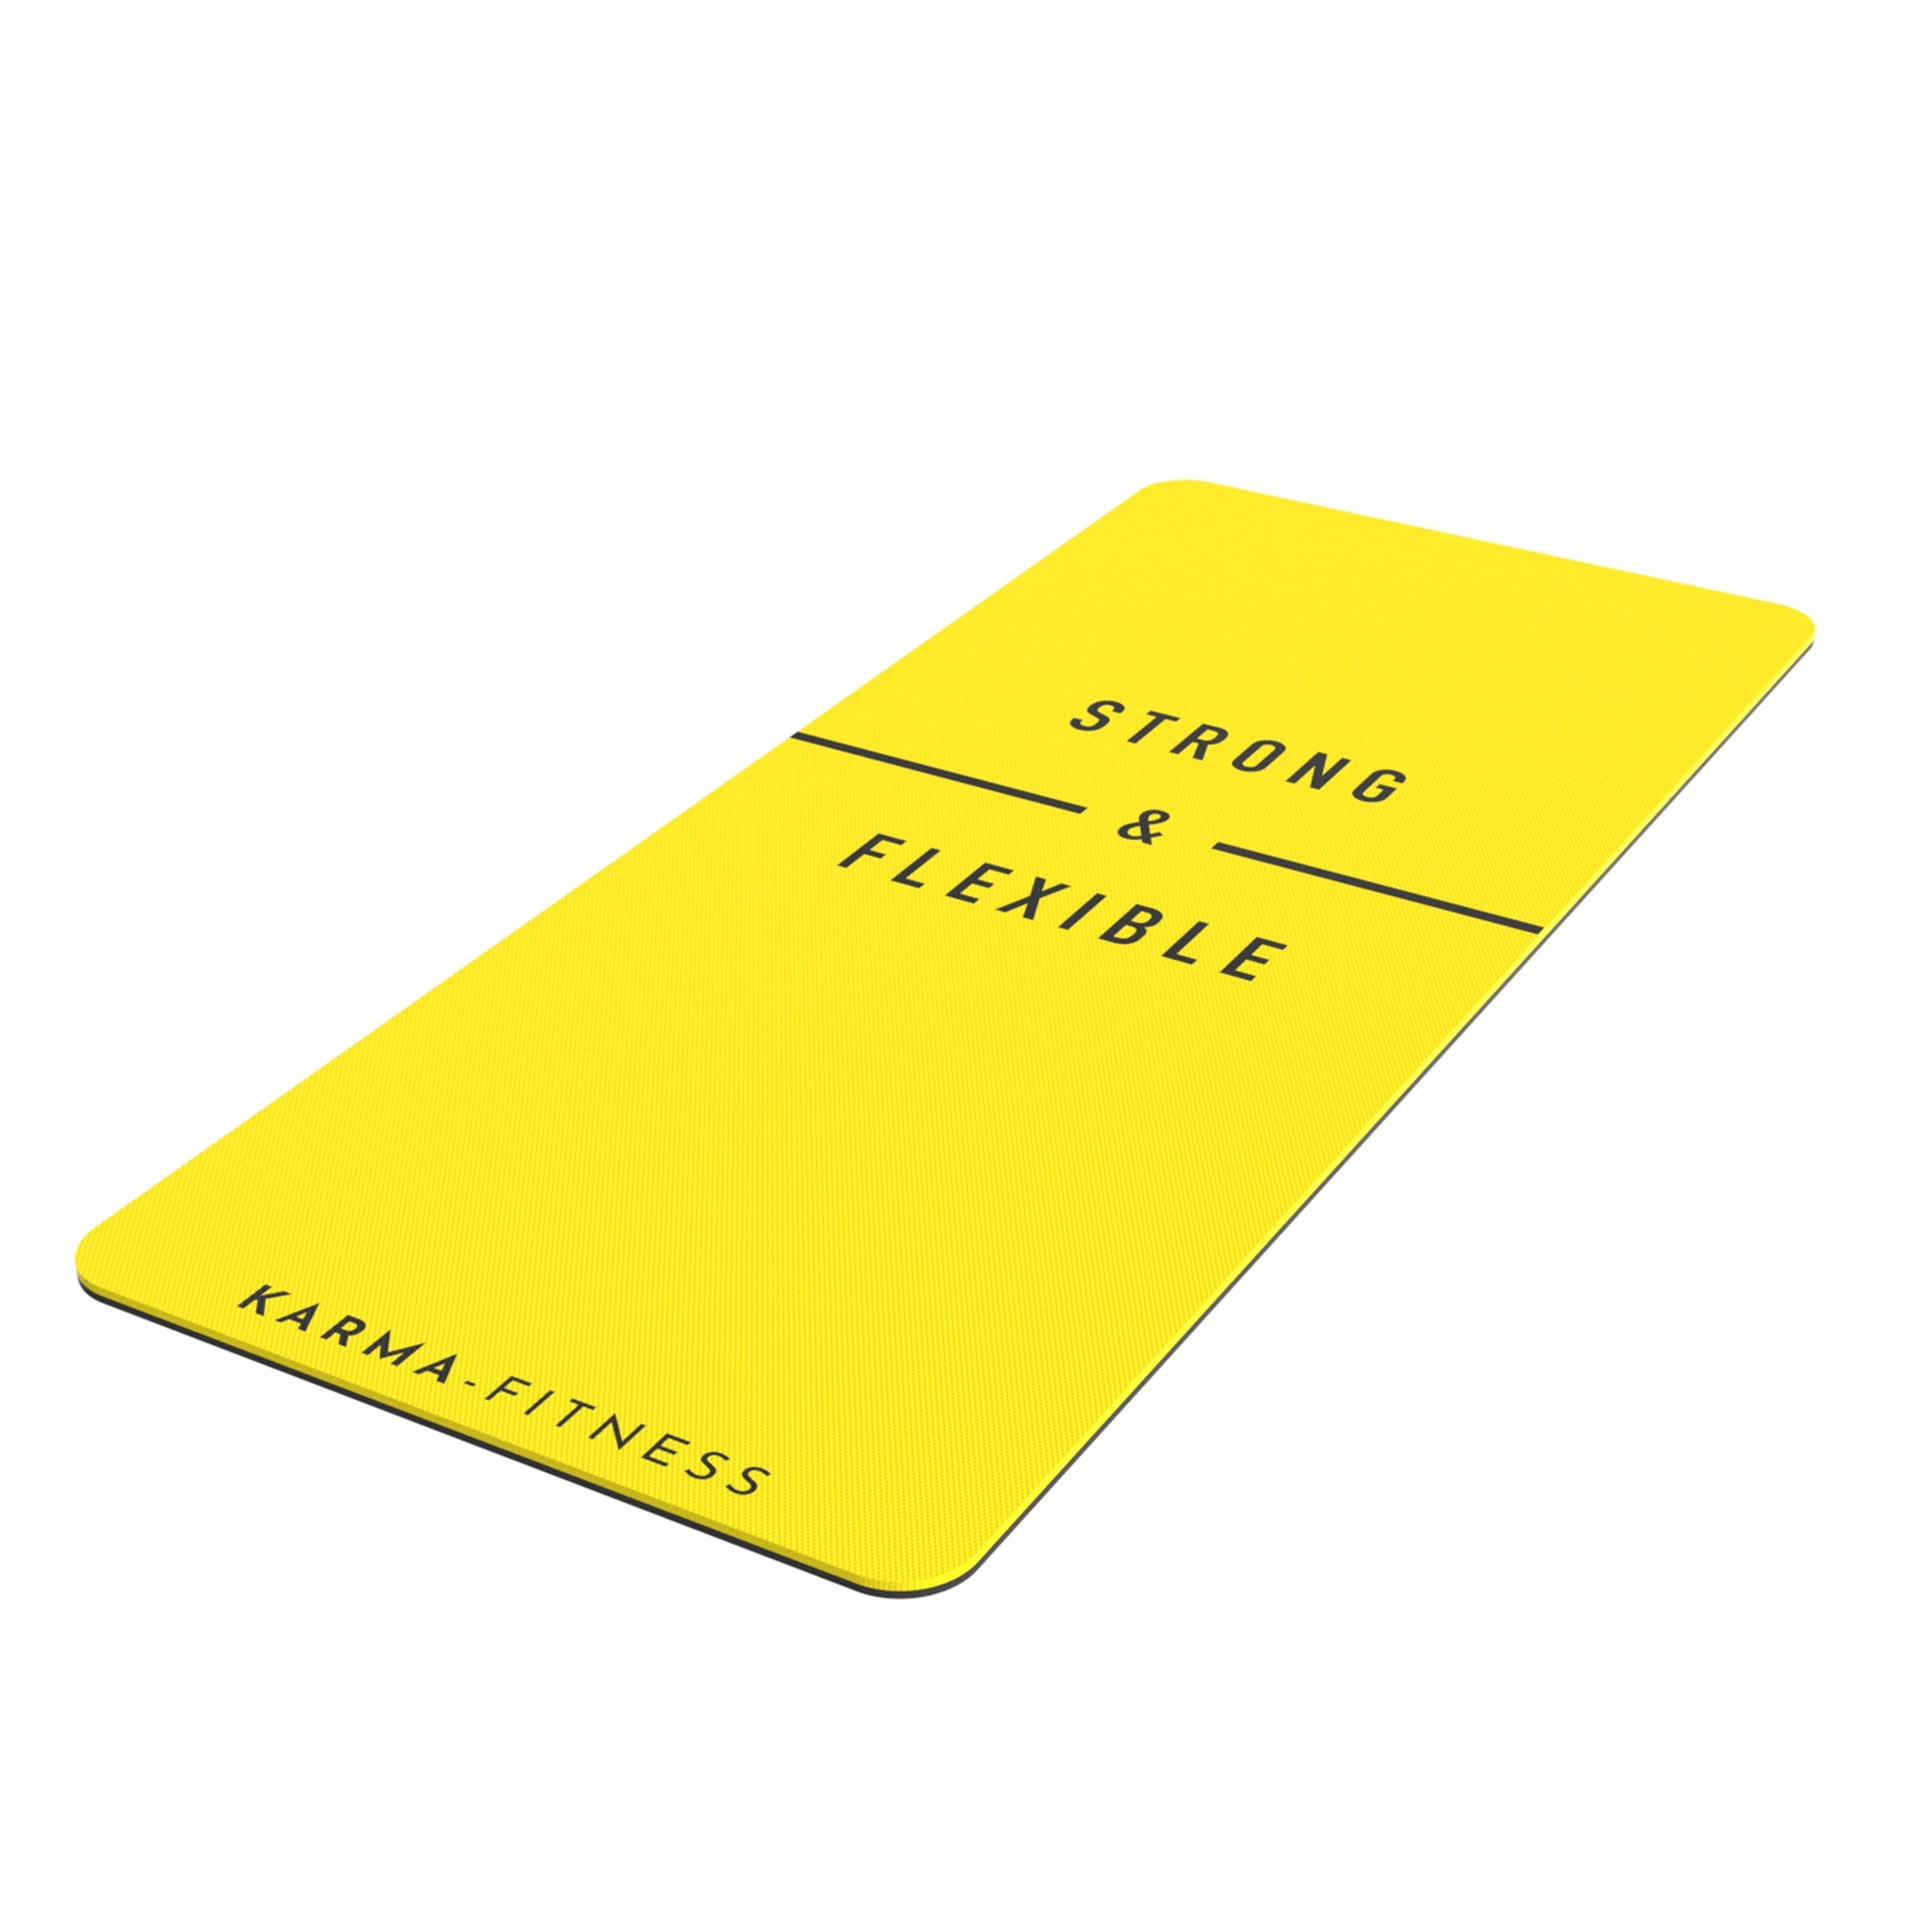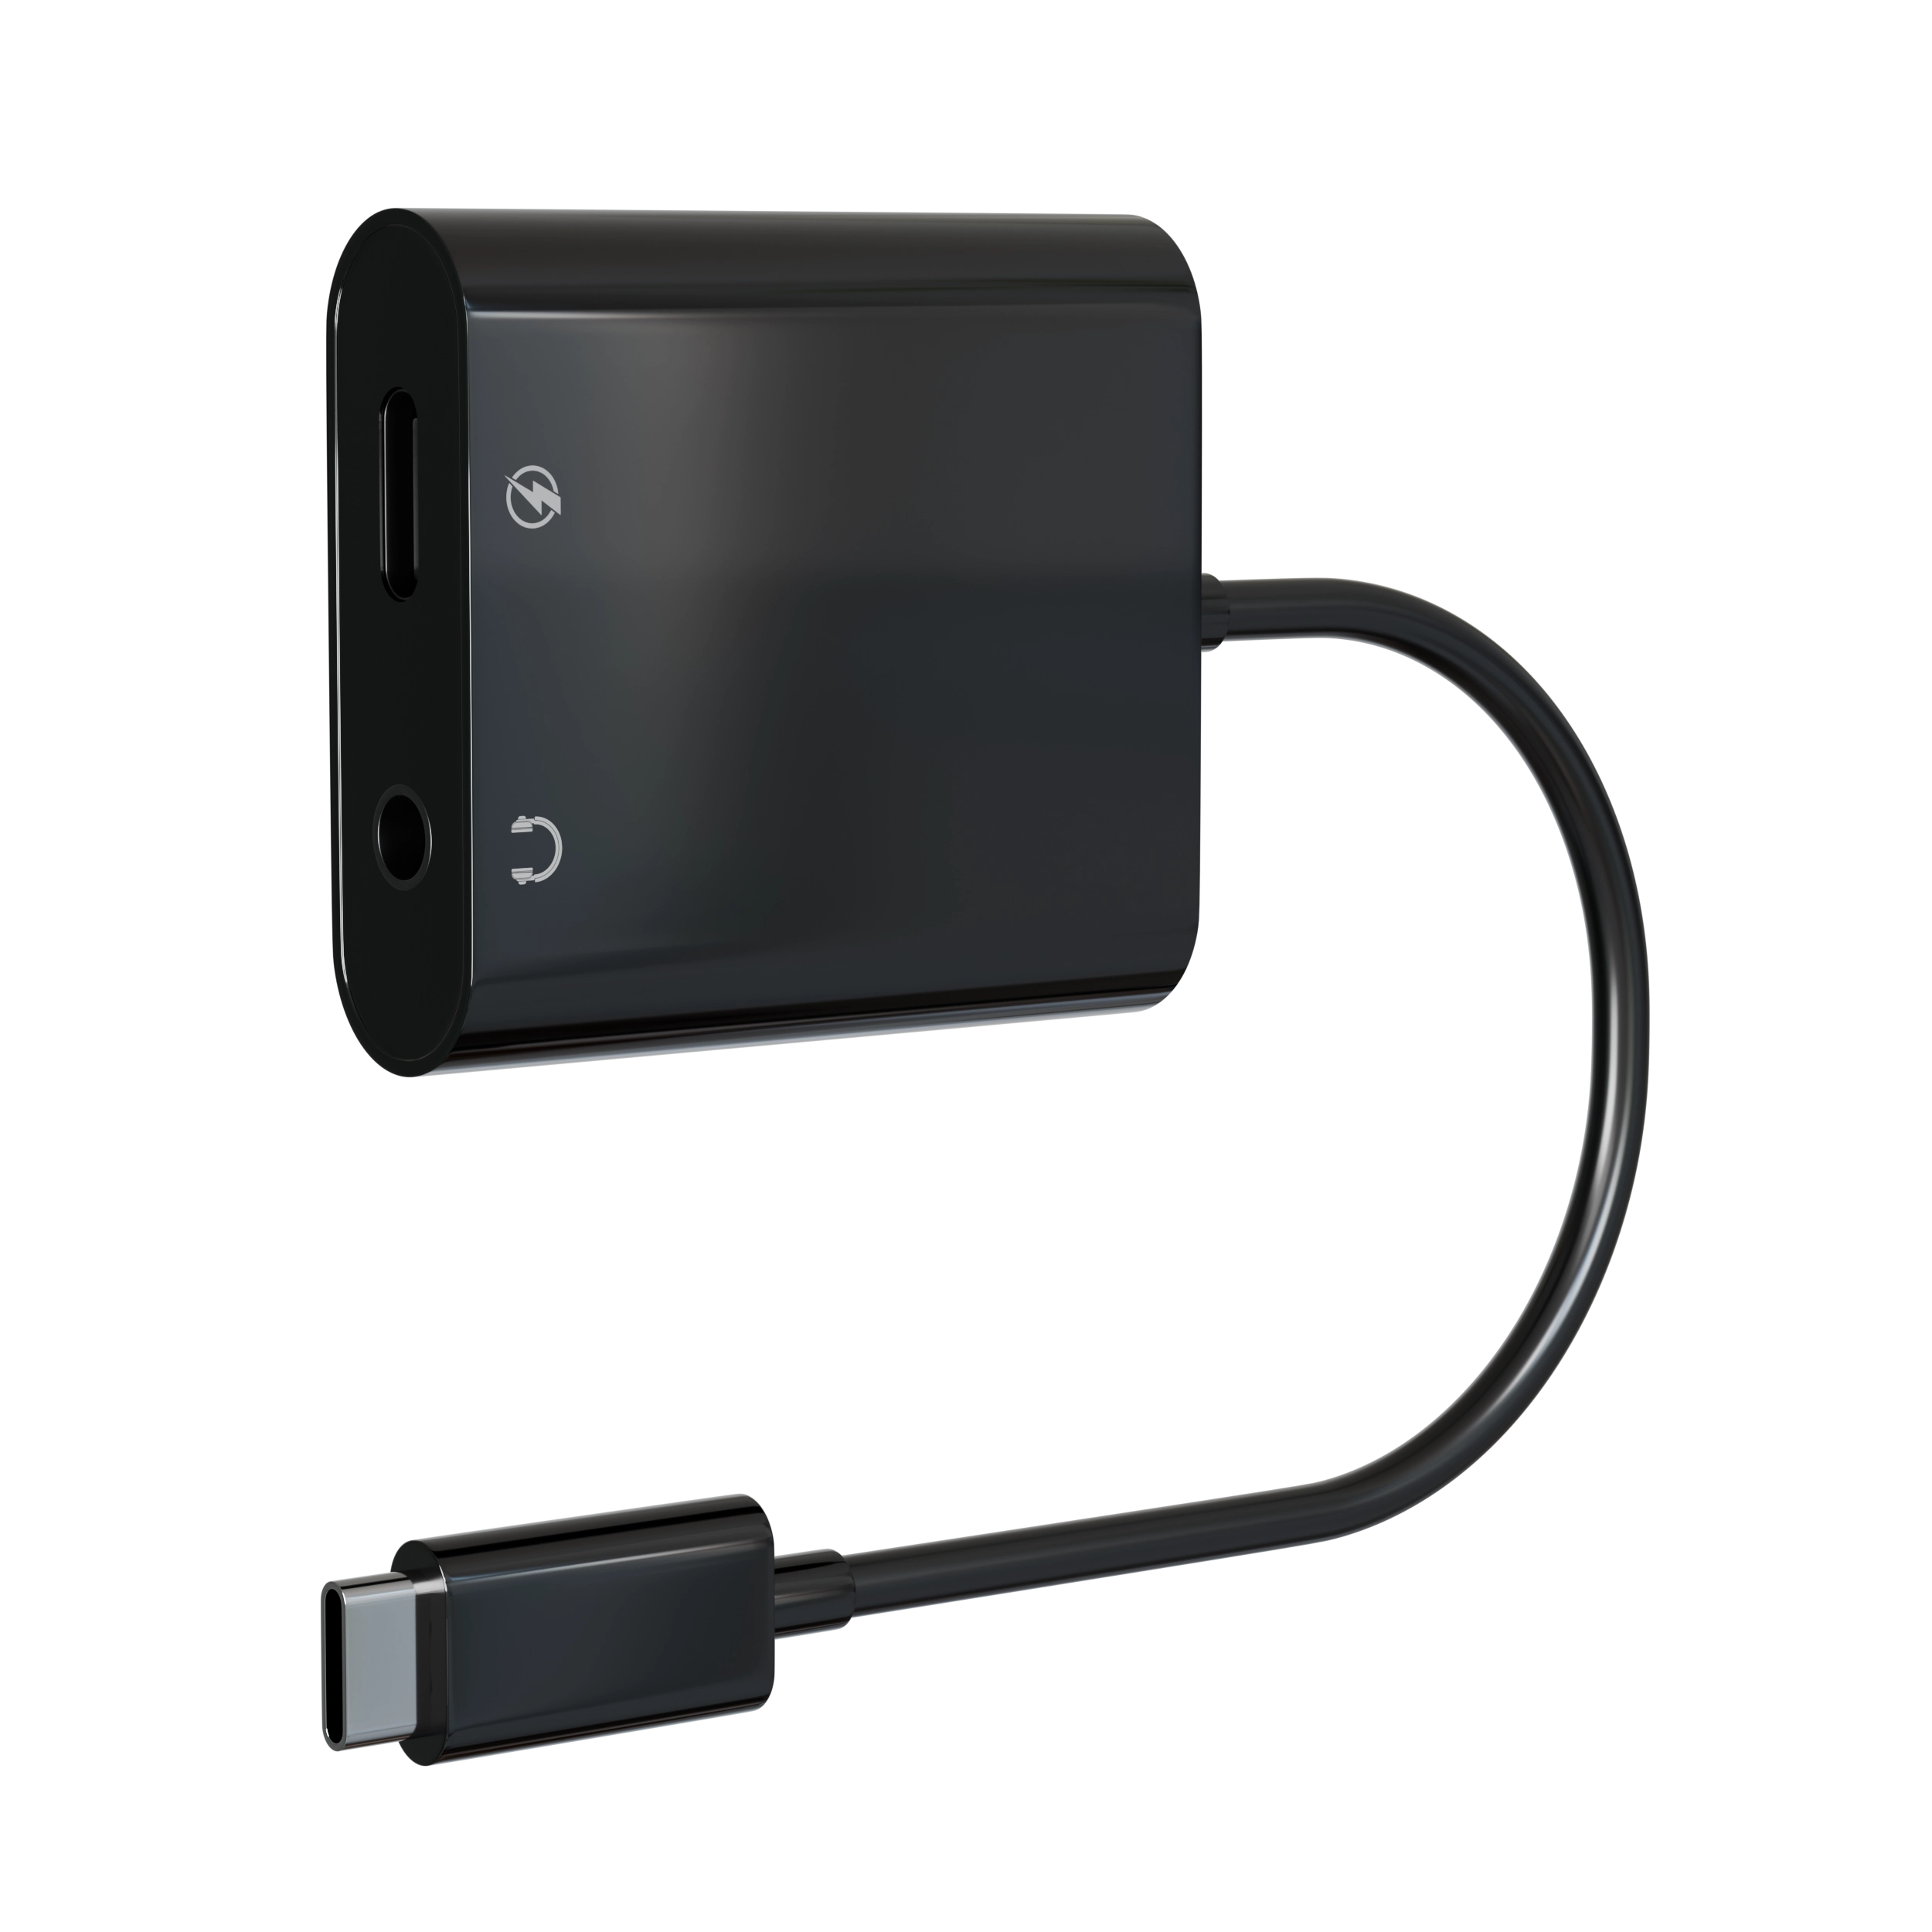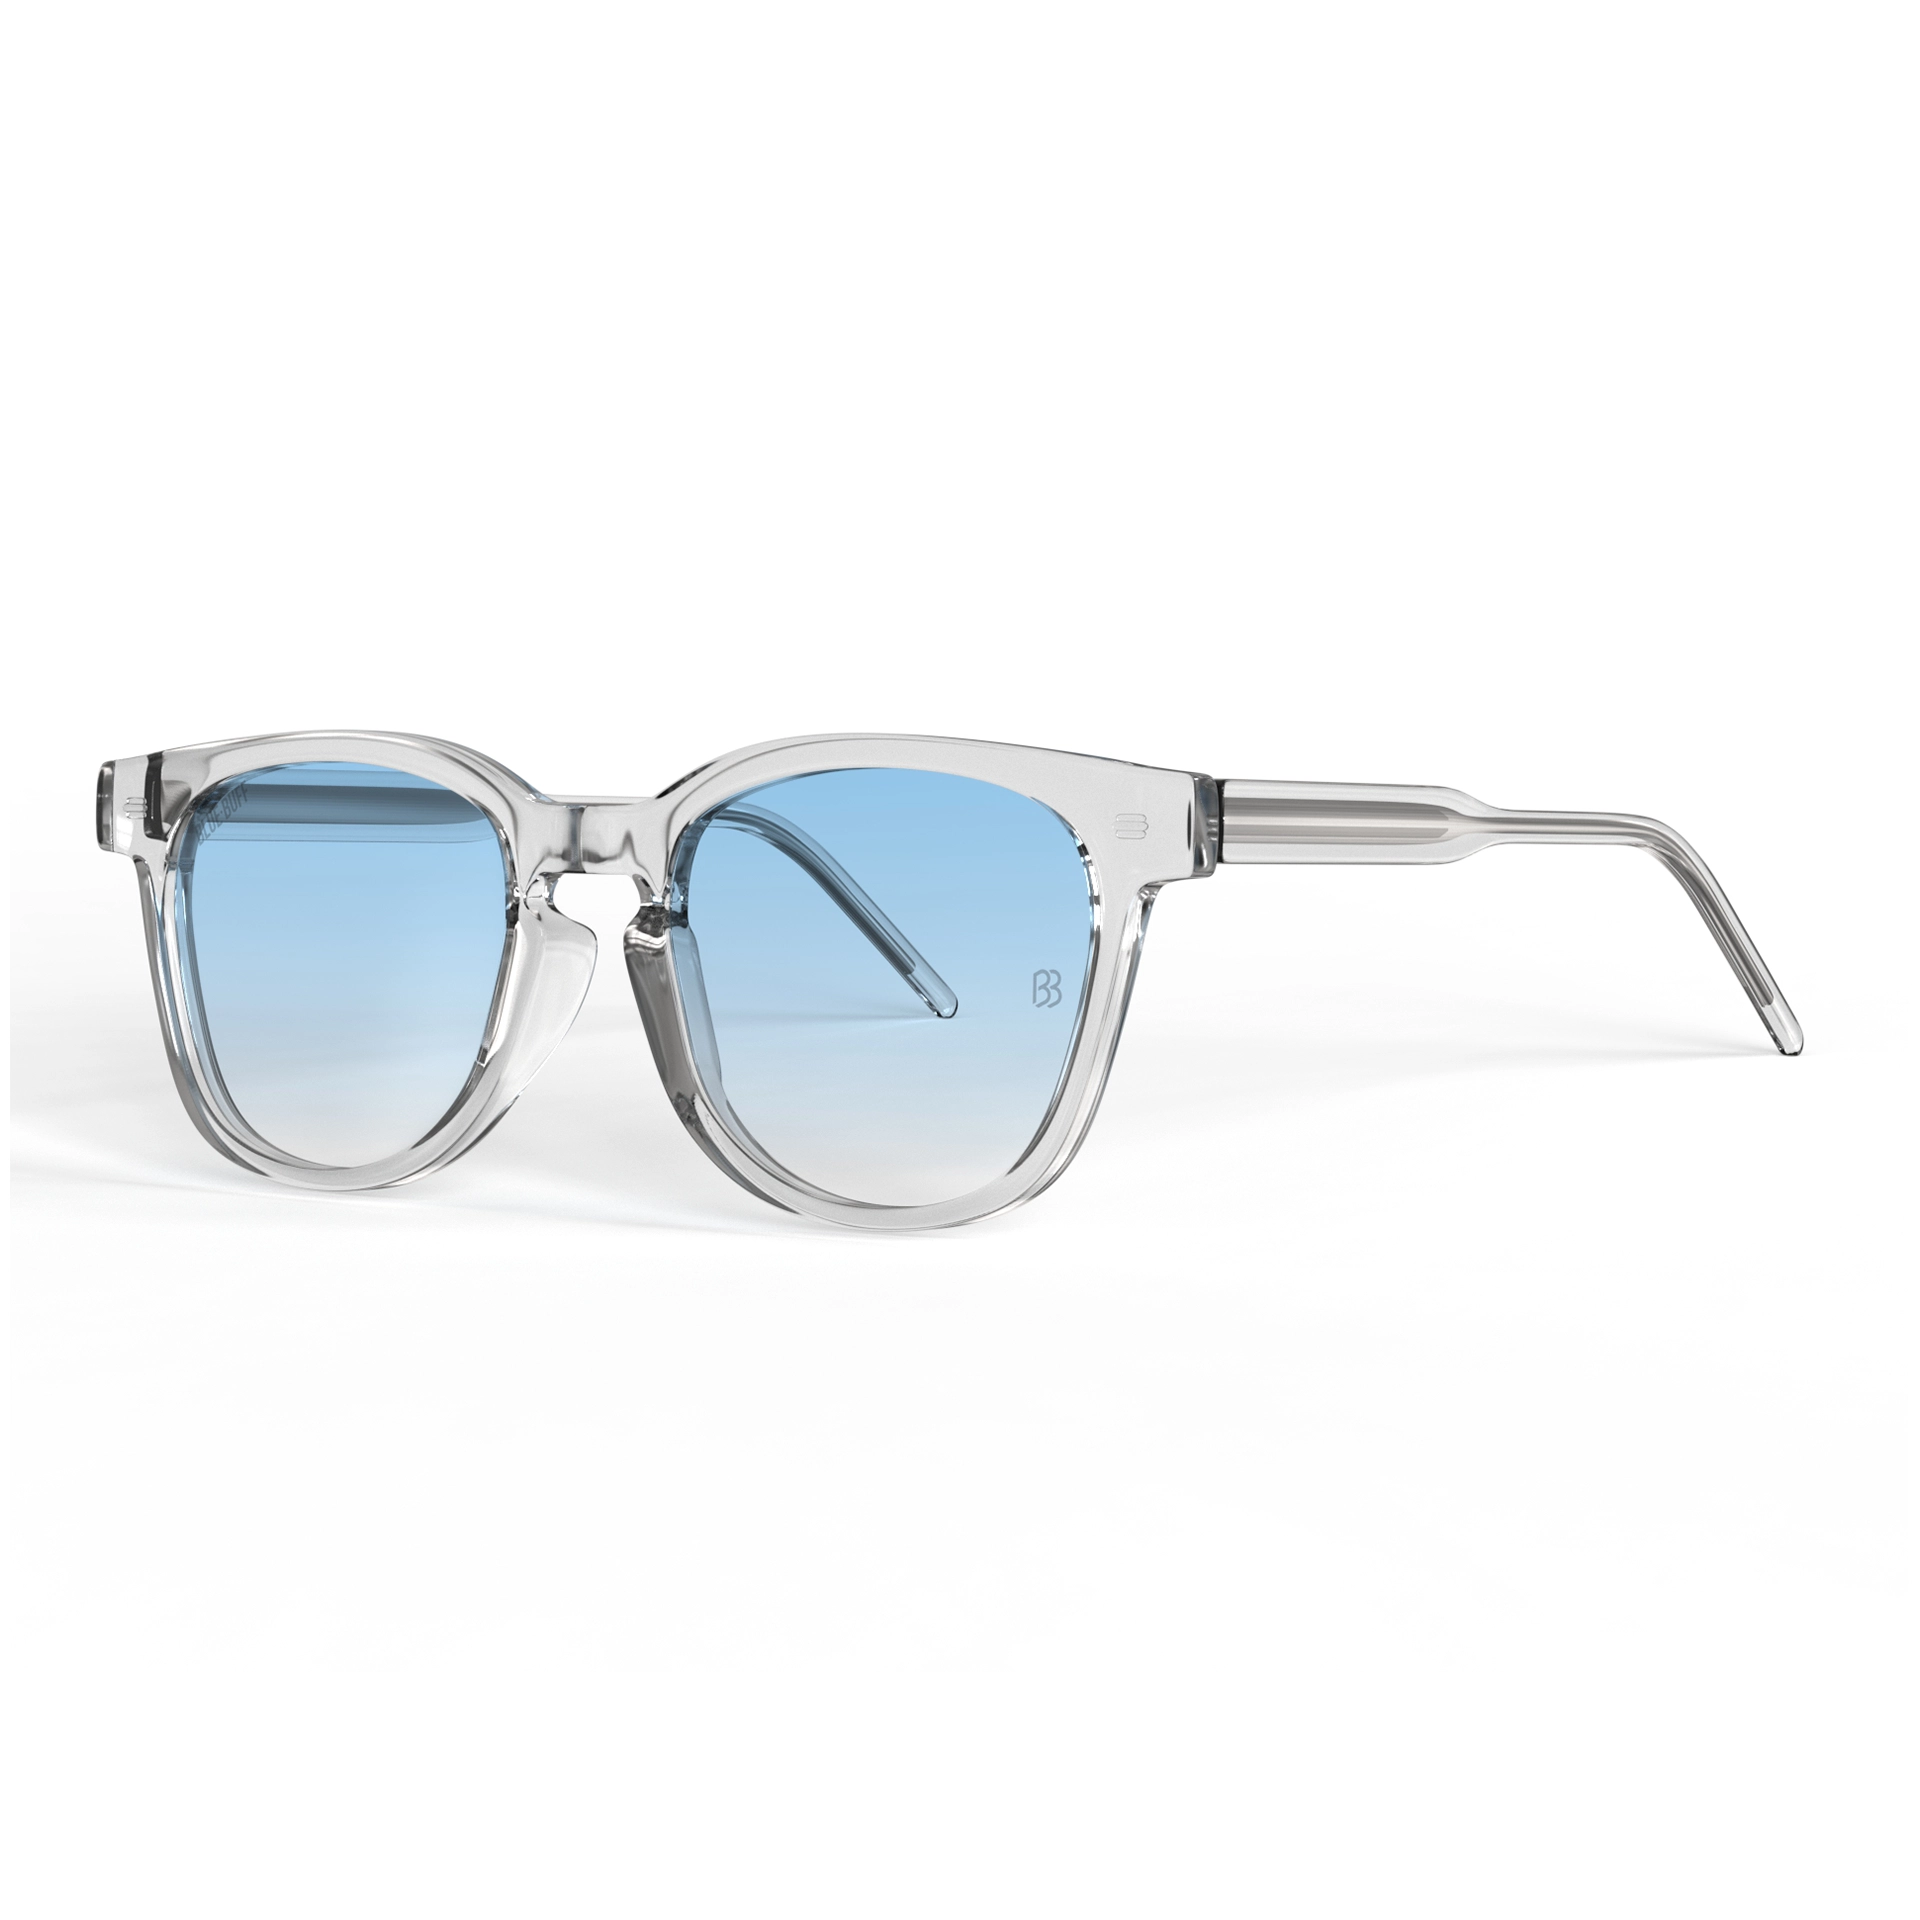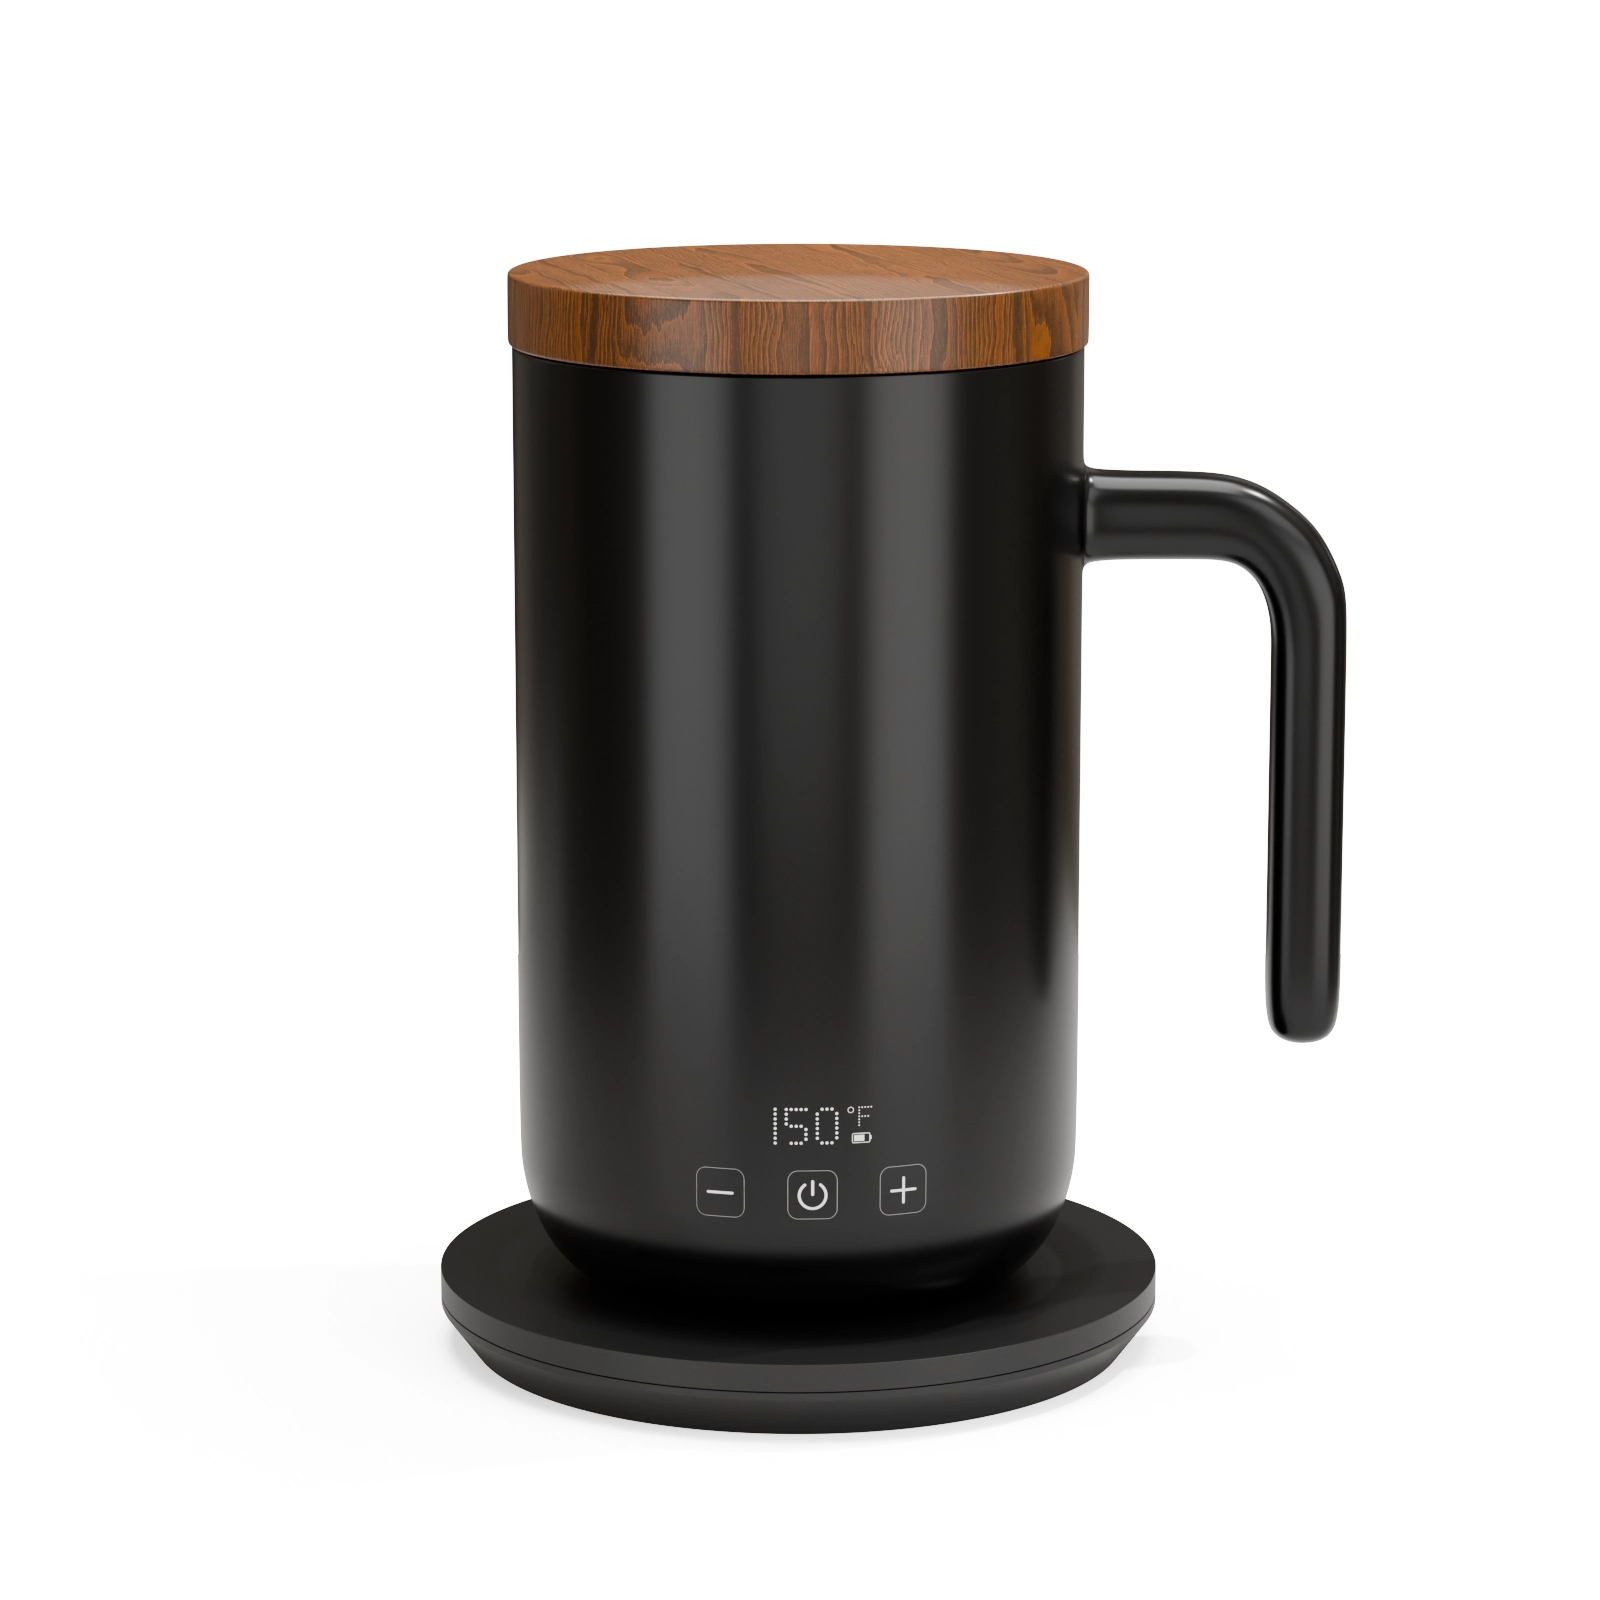
Drinkware looks like an easy product to photograph and is not. A tumbler is a mirror with a matte coating: it reflects the studio, the photographer and every light modifier in the room, and the two materials that define it, powder coat and polished stainless, behave in opposite ways under the same light.
Then the range multiplies. Two or three sizes, several lid types, and a color list that changes every season.
The three hard materials
Powder coat. The finish that sells the product. It is matte but not flat, with a fine grain that catches light along the edges of the body. Rendered too smooth, it reads as plastic. Rendered too rough, it reads as sandpaper. The grain has to be subtle enough to be invisible at full-product view and clearly present in a close crop.
Polished stainless. A mirror, which means it shows whatever surrounds it. In a studio that is light stands. In a render it is a controlled environment, which is why steel collars and rims usually look cleaner in CGI than in photography.
Translucent lids and straws. Clear polypropylene and silicone need correct thickness and light transmission, or they read as grey plastic.
Why consistency breaks in photography
A drinkware range is usually shot in waves as production lands. The first eight colors are shot in spring, the seasonal drop in autumn, the collaboration whenever the samples arrive. Different day, different rig, different retoucher.
On the collection grid, the range looks assembled rather than designed. That is a conversion problem on your own site and a variant-selection problem on marketplaces.
What 3D changes
One lighting setup, permanently. Every color, size and lid shares it.
Color before production. Seasonal colors can be rendered from the coating reference before a single unit is coated, so campaign assets exist on launch day.
Sections and internals. Double-wall vacuum construction is the main reason someone pays a premium, and it is invisible in a photograph. A cutaway render shows the two walls and the vacuum gap in one frame.
Mechanisms in motion. Flip straws, screw lids, handle positions. A short animation answers the questions that otherwise arrive as messages.
Scale done honestly. Sizes rendered side by side at true relative proportions, rather than photographed separately and assumed.
What it costs for a range
The model build carries the first SKU, including the lid variants. Colors after that are material changes: our catalog rate lands in the low forties per render, against the $100 to $500 per image commonly quoted for studio packshots.
For a typical launch, four colors across six angles plus one cutaway and one spin is a single project rather than a season of logistics.
A practical order of work
- Model one size with each lid type.
- Render the full angle set for the hero color, and sign it off.
- Roll the approved setup across every other color.
- Add the cutaway for A+ Content and the spin for the gallery.
- Keep the model, so next season is a re-render.
What to send us
CAD if you have it. If not, a spec sheet with dimensions, the coating reference or Pantone, artwork for the logo, and a handful of photos of the real unit including one close crop of the finish. That is enough to build from.
Send one bottle and we will render it for $130, credited against your first full project.
See this quality on your own product
First-time clients get a complete, high-resolution 3D render of their product for $130. Judge the quality before committing to a full package.